How to Winterize an RV: A Comprehensive Guide
Winterizing your RV is a crucial process that helps protect your vehicle from the harsh effects of cold weather. Proper winterization ensures that your RV remains in good condition during the off-season, preventing damage to plumbing systems, appliances, and other components. This guide will provide a detailed overview of how to winterize an RV, including step-by-step instructions, tips, and common FAQs.
Understanding the Importance of Winterizing an RV
Winterizing your RV is essential for several reasons:
- Preventing Freezing: Water left in the plumbing system can freeze and cause pipes to burst.
- Protecting Appliances: Appliances such as water heaters and refrigerators can be damaged by freezing temperatures.
- Maintaining Interior Conditions: Proper winterization helps prevent mold and mildew growth inside the RV.
- Extending Lifespan: Regular maintenance, including winterization, can extend the life of your RV.
Tools and Supplies Needed for Winterization
Before you begin the winterization process, gather the following tools and supplies:
| Tools/Supplies | Purpose |
|---|---|
| Antifreeze (non-toxic) | Prevents freezing in plumbing systems |
| Water pump converter kit | Helps pump antifreeze through the system |
| Screwdriver | For removing panels or accessing components |
| Hose | Used to siphon antifreeze into the system |
| Bucket | To catch any excess water |
| Towels | For cleaning up spills |
Step-by-Step Guide to Winterizing Your RV
Step 1: Prepare Your RV
- Clean the Interior:
- Remove all food items and perishable goods.
- Clean out any debris or trash to prevent odors.
- Vacuum carpets and upholstery to remove dirt.
- Drain Water Systems:
- Turn off the water pump and open all faucets (including outdoor showers).
- Drain the fresh water tank by opening the drain valve.
- Empty the gray and black water tanks at a dump station.
Step 2: Add Antifreeze
- Bypass the Water Heater:
- Locate the water heater bypass valve (usually found near the water heater).
- Turn the valve to bypass mode to prevent antifreeze from entering the tank.
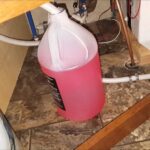
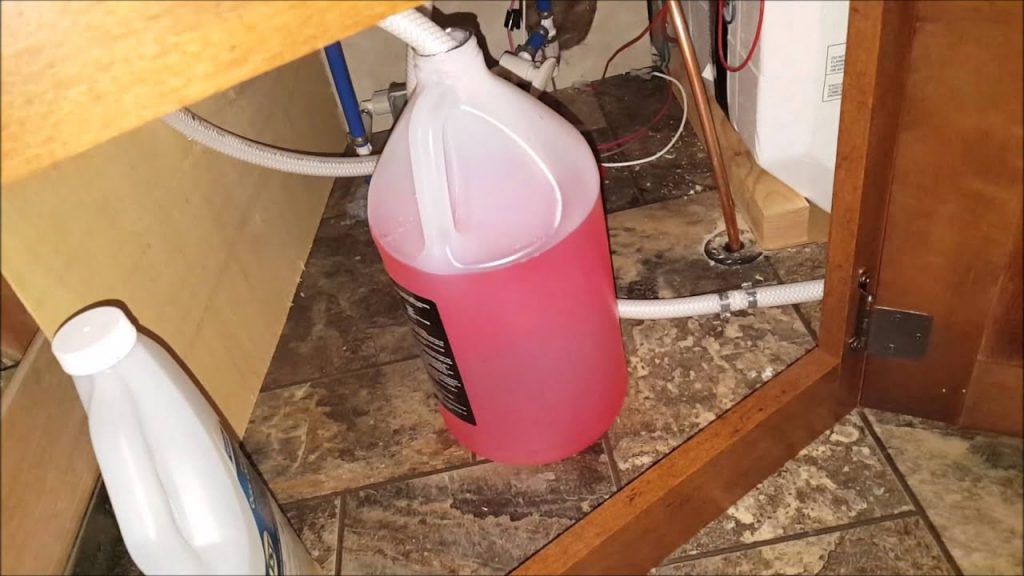
- Use a Water Pump Converter Kit:
- Attach the converter kit to your RV’s water pump according to manufacturer instructions.
- Place the other end of the hose into a jug of non-toxic antifreeze.
- Pump Antifreeze Through Plumbing:
- Turn on the water pump and open each faucet (hot and cold) one at a time until you see pink antifreeze flowing out.
- Don’t forget to flush toilets until you see antifreeze in the bowl.
- Add Antifreeze to Drains:
- Pour a cup of antifreeze down each sink and shower drain to protect traps from freezing.
Step 3: Prepare Appliances
- Water Heater:
- Ensure that it is bypassed (as mentioned earlier).
- Leave it empty for winter storage.
- Refrigerator:
- Clean out food items and unplug it.
- Leave the door slightly ajar to prevent odors.
- Other Appliances:
- Check manufacturer instructions for any specific winterization steps.
Step 4: Protect Exterior Components
- Inspect Seals and Caulking:
- Check all seals around windows, doors, and roof vents for cracks or damage.
- Apply new caulk or sealant as necessary.
- Cover Vents and Openings:
- Use vent covers or screens to keep out pests.
- Tire Care:
- Inflate tires to recommended pressure levels.
- Consider using tire covers to protect them from UV rays.
- Battery Maintenance:
- Remove batteries if storing in a cold environment.
- Store batteries in a warm place and keep them charged.
Step 5: Final Checks
- Double-Check Everything:
- Go through each step again to ensure nothing was missed.
- Document Your Process:
- Keep a log of what you have done for future reference.
Common Mistakes When Winterizing an RV
- Neglecting Water Systems: Failing to drain all water can lead to frozen pipes.
- Not Using Non-Toxic Antifreeze: Always use non-toxic antifreeze specifically designed for RVs.
- Skipping Appliance Preparation: Not preparing appliances can lead to damage during freezing temperatures.
Tips for Successful Winterization
- Plan Ahead: Start winterizing before temperatures drop significantly.
- Follow Manufacturer Guidelines: Always refer to your RV’s manual for specific instructions related to winterization.
- Check Local Regulations: Some areas have specific disposal regulations for RV waste; ensure compliance when emptying tanks.
FAQ Section
How often should I winterize my RV?
You should winterize your RV every year if you live in an area with freezing temperatures during winter months.
Can I skip winterizing if I’m using my RV in winter?
If you plan on using your RV during winter, you may not need full winterization but should still take precautions against freezing temperatures.
What happens if I forget to drain my tanks?
If you forget to drain your tanks, there’s a risk of freezing which can lead to cracked pipes or damaged tanks.
Is it necessary to use antifreeze?
Yes, using non-toxic antifreeze is essential for protecting plumbing systems from freezing damage.
Can I leave my RV outside during winter?
Yes, but it’s advisable to cover it with a breathable cover designed for RVs to protect it from snow and ice accumulation.
Conclusion
Winterizing your RV is an essential task that protects your investment from harsh weather conditions. By following this comprehensive guide, you can ensure that your vehicle remains in excellent condition throughout the off-season. Proper preparation not only prevents damage but also makes it easier for you when you’re ready to hit the road again in warmer months.For more detailed information about maintaining recreational vehicles, please refer to Wikipedia.