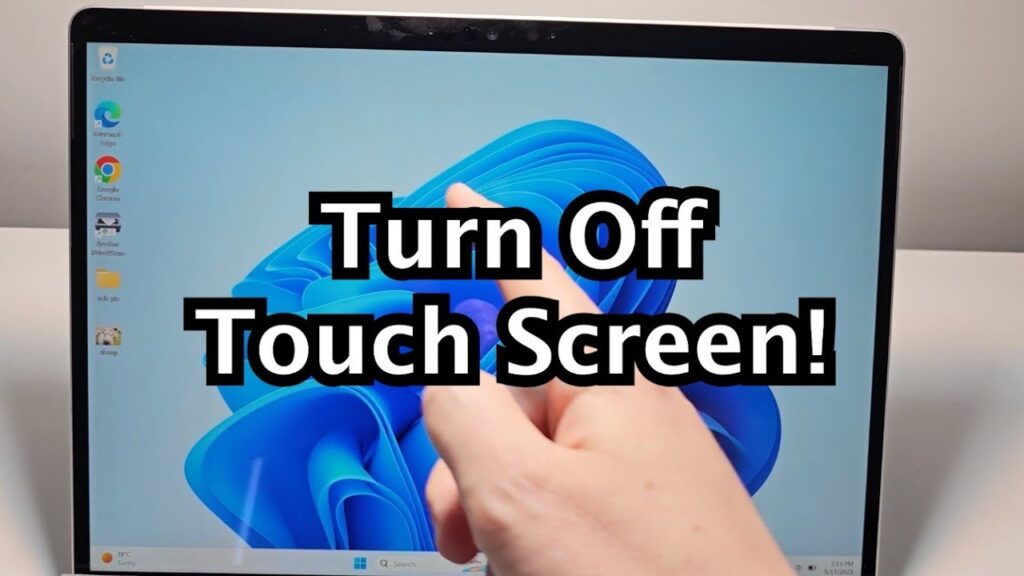
How to Turn Off the Touch Screen on Windows: A Step-by-Step Guide
Turning off the touch screen on a Windows device can be useful for various reasons, such as conserving battery life, avoiding accidental touches, or simply preferring to use other input methods. Here’s a comprehensive guide on how to disable the touch screen feature on Windows 10 and Windows 11.
Why Disable the Touch Screen?
Before diving into the steps, it’s worth considering why you might want to disable the touch screen:
- Battery Life: Disabling the touch screen can help extend battery life, especially on laptops and tablets.
- Accidental Touches: If you find that the touch screen is too sensitive or prone to accidental touches, disabling it can be a practical solution.
- Preference: Some users simply prefer using the keyboard and mouse or touchpad over the touch screen.
Steps to Disable the Touch Screen on Windows
The process to disable the touch screen is straightforward and consistent across both Windows 10 and Windows 11. Here are the steps:
- Open Device Manager:
- Press the Windows key + X and select Device Manager from the menu.
- Alternatively, you can type Device Manager in the search box on the taskbar and click on the app.
- Navigate to Human Interface Devices:
- In the Device Manager window, scroll down and expand the Human Interface Devices branch.
- Locate the Touch Screen Device:
- Look for the HID-compliant touch screen entry. There may be more than one listed, especially if your device has multiple touch screens.
- Disable the Touch Screen:
- Right-click on the HID-compliant touch screen entry and select Disable device.
- Confirm by clicking Yes when prompted.
- Verify the Change:
- Attempt to touch the screen to ensure it no longer responds to touch gestures.
Re-Enabling the Touch Screen
If you decide to re-enable the touch screen, follow the same steps but select Enable device instead of Disable device.
Troubleshooting
In some cases, you might encounter issues where the touch screen does not disable as expected. Here are a few troubleshooting tips:
- Restart Your Computer: Sometimes, a simple restart can resolve the issue.
- Check for Multiple Entries: Ensure you have disabled all relevant HID-compliant touch screen entries if there are multiple listings.
Advanced Troubleshooting and Considerations
Device-Specific Issues
Some devices may have unique configurations or drivers that could affect the touch screen‘s functionality. Here are a few advanced troubleshooting steps:
- Update Drivers:
- Ensure that your touch screen drivers are up to date. Outdated drivers can cause issues with disabling the touch screen.
- To update drivers, go to the Device Manager, right-click on the HID-compliant touch screen entry, and select Update driver.
- Disable Touch Screen via Registry:
- For more persistent issues, you can try disabling the touch screen via the Windows Registry.
- Warning: Editing the registry can be risky and should be done with caution.
- Open the Registry Editor by typing
regeditin the Run dialog box (Windows key + R). - Navigate to
HKEY_LOCAL_MACHINE\SYSTEM\CurrentControlSet\Enum\HID. - Find the entry related to your touch screen and delete it. However, this method is not recommended unless you are experienced with registry editing.
- BIOS Settings:
- In some cases, the touch screen might be controlled by BIOS settings. Check your device’s BIOS settings to see if there is an option to disable the touch screen.
- Restart your computer and enter the BIOS settings (usually by pressing F2, F12, or Del during boot-up).
- Look for an option related to touch screen or input devices and disable it if available.
FAQ Section
Q: Why would I want to disable the touch screen on my Windows device?
- A: You might want to disable the touch screen to conserve battery life, avoid accidental touches, or simply because you prefer using other input methods.
Q: How do I disable the touch screen on Windows 10 and Windows 11?
- A: Open Device Manager, expand the Human Interface Devices branch, right-click on the HID-compliant touch screen entry, and select Disable device. Confirm by clicking Yes.
Q: Can I re-enable the touch screen if I change my mind?
- A: Yes, you can re-enable the touch screen by following the same steps but selecting Enable device instead of Disable device.
Q: What if the touch screen does not disable after following the steps?
- A: Try restarting your computer or ensure you have disabled all relevant HID-compliant touch screen entries if there are multiple listings.
Table: Steps to Disable Touch Screen
| Step | Action | Description |
|---|---|---|
| 1. Open Device Manager | Press Windows key + X, select Device Manager | Open the Device Manager application |
| 2. Navigate to Human Interface Devices | Expand Human Interface Devices branch | Locate the branch containing touch screen devices |
| 3. Locate Touch Screen Device | Find HID-compliant touch screen entry | Identify the specific touch screen device to disable |
| 4. Disable Touch Screen | Right-click, select Disable device | Disable the touch screen device |
| 5. Verify Change | Attempt to touch the screen | Ensure the touch screen no longer responds to touch gestures |
Additional Resources
For more detailed information on managing device settings in Windows, you can refer to the following resources:
- Microsoft Support: This resource provides comprehensive guides on various Windows features, including device management.
Wikipedia Link
- Touchscreen: This Wikipedia article provides detailed information on touch screen technology, its history, and applications.
References
https://www.windowscentral.com/how-disable-touch-display-windows-10
https://www.youtube.com/watch?v=QBHeMbZqUUk
https://www.tomshardware.com/how-to/disable-touch-screen-windows
By following these steps, you can easily disable the touch screen on your Windows device, helping you manage your input preferences and potentially extend your battery life.


