How to Rotate Screen in Windows 11
Method 1: Using Display Settings
- Right-click on the Desktop: Begin by right-clicking on an empty area of your desktop.
- Select Display Settings: From the context menu that appears, click on “Display settings.”
- Choose the Monitor: If you have multiple monitors, select the one you wish to rotate.
- Select Orientation: Scroll down to the “Display orientation” section. You will see options like:
- Landscape
- Portrait
- Landscape (flipped)
- Portrait (flipped)
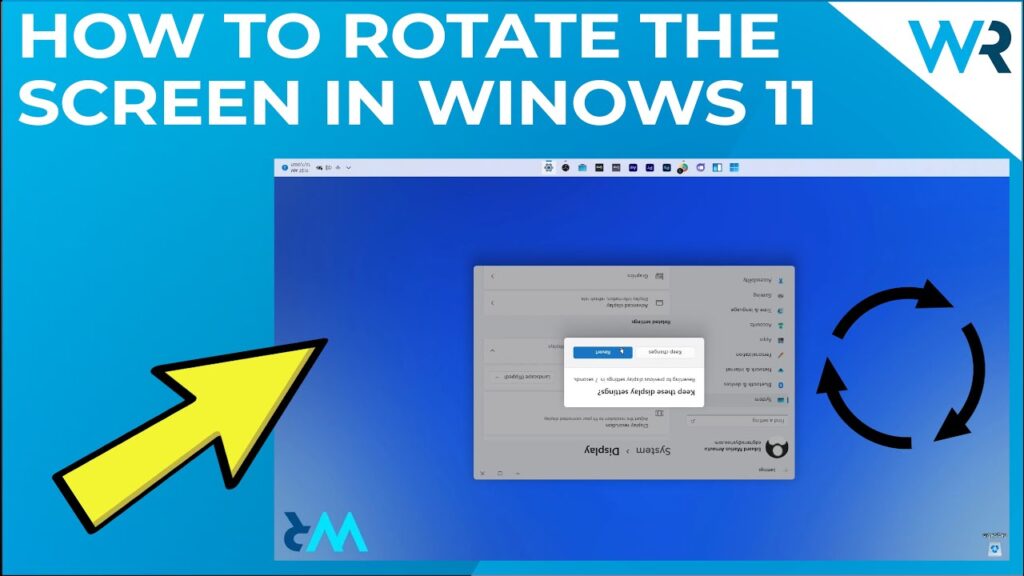
- Apply Changes: After selecting your preferred orientation, click “Keep changes” to confirm.
Method 2: Using Keyboard Shortcuts
For users with Intel graphics, keyboard shortcuts can quickly change the screen orientation:
- Ctrl + Alt + Right Arrow: Rotate the screen 90 degrees clockwise.
- Ctrl + Alt + Left Arrow: Rotate the screen 90 degrees counterclockwise.
- Ctrl + Alt + Down Arrow: Rotate the screen upside down (180 degrees).
- Ctrl + Alt + Up Arrow: Restore the screen to the normal orientation.
Method 3: Using the Screen Rotate Application
- Open Microsoft Store: Press
Win + Sto open the search bar and type “Microsoft Store.” - Search for Screen Rotate: In the Microsoft Store, search for “Screen Rotate.”
- Download the App: Click on the “Get” button to download and install the application.
- Open the App: Launch the “Screen Rotate” application and follow the on-screen instructions to set your desired orientation.
Method 4: Using Registry Editor (Advanced)
- Open Registry Editor: Press
Win + S, type “Registry Editor,” and hit Enter. - Navigate to AutoRotation Key: Go to the following path:
text
HKEY_LOCAL_MACHINE\SOFTWARE\Microsoft\Windows\CurrentVersion\AutoRotation
- Edit Enable Value: Double-click on “Enable” and set its value to:
0to disable screen rotation.1to enable screen rotation.
- Restart Your Computer: Close the Registry Editor and restart your PC for the changes to take effect.
Additional Troubleshooting Tips
If you experience issues with screen rotation, consider the following:
- Graphics Driver Settings: Sometimes, the graphics driver settings can override Windows settings. Open your graphics control panel (like NVIDIA Control Panel or AMD Radeon Settings) and check for display rotation options.
- Check for Windows Updates: Ensure your system is up to date. Go to Settings > Windows Update and check for updates.
- Screen Orientation Lock: On some devices, especially tablets or 2-in-1s, there may be a physical lock or a setting in the Action Center that prevents rotation. Make sure it’s disabled.
- Reboot Your Device: Sometimes, a simple reboot can resolve temporary glitches that prevent screen rotation.
Use Cases for Screen Rotation
Rotating your screen can be beneficial in various scenarios:
- Reading Documents: Portrait mode is ideal for reading long documents or eBooks, providing a more natural reading experience.
- Coding: Developers often prefer portrait mode for coding, as it allows them to see more lines of code at once.
- Graphic Design: Designers may rotate their screens to better visualize layouts and designs, especially when working with mobile or vertical content.
- Gaming: Some games support portrait mode, enhancing the gaming experience for specific titles.
Conclusion
Rotating your screen in Windows 11 is a simple yet powerful feature that can enhance your productivity and user experience. Whether you’re using the built-in display settings, keyboard shortcuts, or third-party applications, you have multiple options to achieve your desired screen orientation.
Troubleshooting Screen Rotation Issues
If you encounter issues with screen rotation not working, consider the following solutions:
- Check Rotation Lock: Ensure that the rotation lock is turned off. This can be done in the Action Center or Settings under “Display.”
- Update Graphics Drivers: Go to Device Manager, expand “Display adapters,” right-click your graphics card, and select “Update driver.”
- Reinstall Graphics Drivers: If updating does not work, you may need to uninstall the driver and restart your PC to reinstall it automatically.
Summary Table
| Method | Steps |
|---|---|
| Display Settings | Right-click desktop > Display settings > Select monitor > Choose orientation > Apply |
| Keyboard Shortcuts | Use Ctrl + Alt + Arrow keys to rotate screen |
| Screen Rotate Application | Download from Microsoft Store > Open app > Set orientation |
| Registry Editor | Open Registry Editor > Navigate to AutoRotation > Edit Enable value > Restart PC |
For more detailed information, you can refer to the Windows 11 documentation or a relevant Wikipedia page.
FAQ
Q1: How can I rotate my PC screen?
To rotate your screen, right-click on the desktop, select “Display settings,” choose your desired orientation, and click “Apply.”
Q2: Why would I want to rotate my screen?
Rotating the screen can enhance document viewing, gaming experiences, or accommodate specific applications that benefit from different orientations.
Q3: Can I rotate my screen using keyboard shortcuts?
Yes, you can use the Ctrl + Alt + Arrow keys to rotate your screen if you have Intel graphics drivers installed.
Q4: Do third-party screen rotation applications affect system performance?
Typically, third-party applications are designed to be lightweight and should not significantly impact system performance. Always download from reputable sources.
Q5: What should I do if my screen rotation is not working?
Check if rotation lock is enabled, update or reinstall your graphics drivers, and ensure that your device supports screen rotation.This guide provides a comprehensive overview of how to rotate your screen in Windows 11, along with troubleshooting tips and frequently asked questions to assist users in managing their display settings effectively.