How to Reset a Netgear Extender: A Comprehensive Guide
Resetting your Netgear WiFi extender can resolve connectivity issues, restore factory settings, or prepare the device for a new network configuration. This guide will provide you with detailed instructions on how to reset your Netgear extender, the reasons for resetting, and what to expect during the process. Additionally, we will address common questions and concerns regarding the reset process.
Understanding Your Netgear Extender
What is a Netgear Extender?
A Netgear WiFi extender, also known as a range extender or booster, is a device that amplifies the signal of your existing WiFi network. It helps eliminate dead zones in your home or office, ensuring that you have a strong and reliable internet connection throughout the area.
Why Reset Your Netgear Extender?
There are several reasons you might need to reset your Netgear extender:
- Connectivity Issues: If your extender is not connecting to the router or the internet, a reset can help.
- Changing Networks: If you have changed your home WiFi network or password, resetting the extender will allow you to set it up with the new credentials.
- Restoring Factory Settings: If you want to return the extender to its original settings, a reset is necessary.
- Troubleshooting: Resetting can resolve various technical issues that may arise during usage.
How to Reset Your Netgear Extender
Method 1: Using the Reset Button
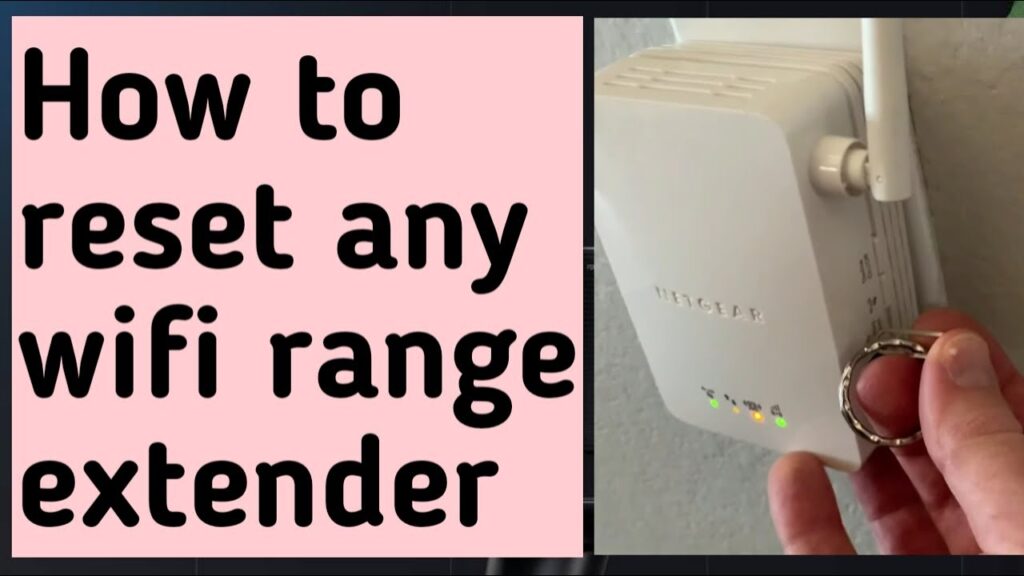
- Locate the Reset Button: The reset button is typically found on the back or bottom of the extender. It may be labeled as “Reset” or “Factory Reset.”
- Prepare a Tool: You will need a paperclip or a similar pointed object to press the button.
- Power On the Extender: Ensure that the extender is plugged into a power source and turned on.
- Press and Hold the Reset Button:
- Use the paperclip to press and hold the reset button for about 10 seconds.
- You should see the Power LED blink, indicating that the reset process has started.
- Wait for Reboot: Release the button and wait for the extender to reboot. This may take a couple of minutes. The LEDs will stabilize once the reset is complete.
Method 2: Using the Web Interface
- Connect to the Extender: Ensure your computer or mobile device is connected to the Netgear extender’s network.
- Open a Web Browser: Launch your preferred web browser.
- Access the Extender’s Settings:
- Type
mywifiext.netor the default IP address (usually192.168.1.250) into the address bar and press Enter. - Log in using your admin credentials (the default username is usually “admin” and the password is “password” unless changed).
- Type
- Navigate to Settings:
- On the left-hand menu, look for “Settings” or “Advanced Settings.”
- Find the option for “Reset” or “Restore Factory Settings.”
- Confirm the Reset: Follow the prompts to confirm the reset. Wait for the extender to reboot.
What to Expect After Resetting
After resetting your Netgear extender, it will return to its factory default settings. This means:
- Network Name (SSID): The default SSID will be restored, usually in the format of
NETGEAR_EXT. - Password: The default password will also be reset, and you will need to set it up again.
- Configuration: Any custom settings or configurations you had previously set will be lost.
Setting Up Your Netgear Extender Again
Once the reset is complete, you will need to set up your extender again:
- Connect to the Extender: Use your computer or mobile device to connect to the default SSID of the extender.
- Access the Setup Page: Open a web browser and go to
mywifiext.net. - Follow the Setup Wizard: The setup wizard will guide you through the process of connecting the extender to your existing WiFi network. You will need your WiFi network name and password.
- Test the Connection: After completing the setup, test the connection by moving to the areas where you need improved WiFi coverage.
Table: Resetting Methods for Netgear Extender
| Method | Steps |
|---|---|
| Using Reset Button | 1. Locate the reset button. 2. Press and hold for 10 seconds. 3. Wait for reboot. |
| Using Web Interface | 1. Connect to the extender. 2. Access mywifiext.net.3. Navigate to settings. 4. Confirm reset. |
FAQ Section
Q1: How long does it take to reset a Netgear extender?
A1: The reset process typically takes a few minutes. After pressing the reset button, wait for the Power LED to stabilize.
Q2: What should I do if I forget my Netgear extender password?
A2: If you forget the password, you can reset the extender to factory settings using the reset button, which will allow you to set a new password.
Q3: Can I reset my extender remotely?
A3: No, you must be physically present to reset the extender using the reset button or the web interface.
Q4: Will resetting my extender affect my internet service?
A4: Resetting the extender will not affect your internet service, but it will disconnect the extender from your network until you set it up again.
Q5: What if the reset button does not work?
A5: If the reset button does not work, ensure that you are pressing it correctly and for the recommended duration. If issues persist, consult the Netgear support website for further assistance.
Q6: How often should I reset my Netgear extender?
A6: You should only reset your extender when necessary, such as when troubleshooting connectivity issues or changing networks. Frequent resets are not recommended.
Conclusion
Resetting your Netgear extender is a straightforward process that can help resolve connectivity issues and restore factory settings. By following the methods outlined in this guide, you can easily reset your device and set it up again to ensure optimal performance. If you encounter any difficulties during the process, refer to the FAQ section or consult the Netgear support resources for additional assistance.For more information on Netgear products and troubleshooting, you can visit the Netgear Knowledge Base.