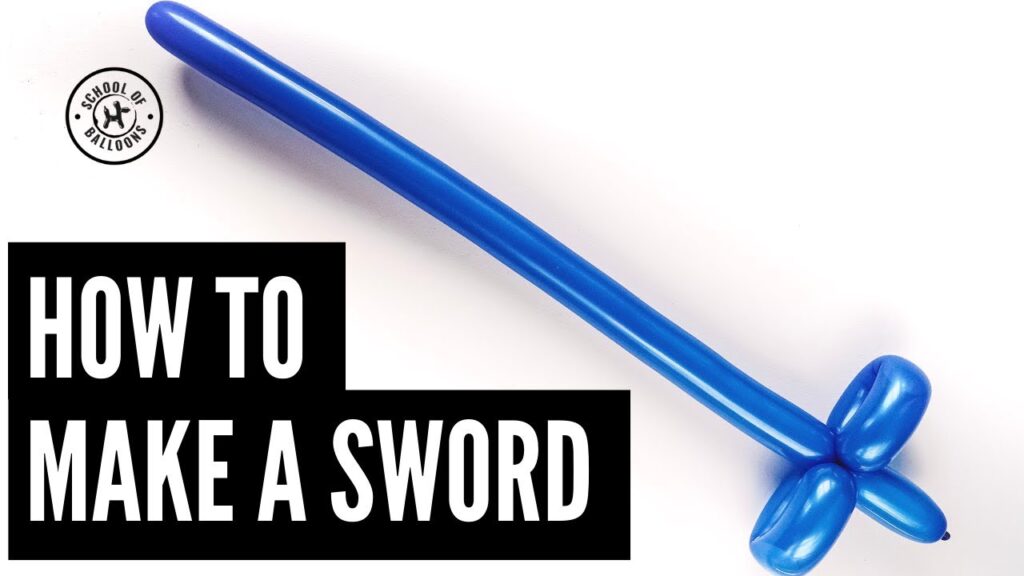
How to Make a Balloon Sword: A Comprehensive Guide
Creating balloon swords is a fun and engaging activity that can be enjoyed by people of all ages. Whether for a birthday party, a carnival, or just for fun, balloon swords can add a playful element to any event. This guide will walk you through the process of making a balloon sword, providing step-by-step instructions, tips, and techniques to ensure your success.
Table of Contents
- Introduction to Balloon Twisting
- Materials Needed
- Basic Techniques for Balloon Twisting
- Step-by-Step Instructions for Making a Balloon Sword
- Variations of Balloon Swords
- Tips for Successful Balloon Twisting
- Common Mistakes and How to Avoid Them
- Frequently Asked Questions (FAQs)
- Conclusion
- References
1. Introduction to Balloon Twisting
Balloon twisting is the art of creating sculptures and shapes using inflated balloons. It has become a popular form of entertainment at parties and events, allowing for creativity and fun. Balloon swords are among the simplest and most popular creations, making them ideal for beginners.
2. Materials Needed
To make a balloon sword, you will need the following materials:
| Material | Description |
|---|---|
| 260 Balloon | A long, cylindrical balloon (usually 2 inches wide and 60 inches long) |
| Balloon Pump | A dual-action pump to inflate the balloon easily |
| Scissors | To cut the balloon if necessary |
| Markers (optional) | For adding designs or decorations to the sword |
3. Basic Techniques for Balloon Twisting
Before diving into making a balloon sword, it’s essential to understand some basic balloon twisting techniques:
- Inflation: Inflate the balloon, leaving a few inches of uninflated tail. This allows for flexibility and prevents popping.
- Twisting: Always twist the balloon in the same direction to secure the shape. Pinch the balloon to hold the twist while making additional twists.
- Basic Twists: A basic twist is a simple twist of the balloon to create a bubble.
- Loop Twist: This involves creating a loop and twisting it to secure the shape.
- Pinch Twist: This technique creates a small bubble that can be twisted to form a joint or handle.
4. Step-by-Step Instructions for Making a Balloon Sword
Here’s a simple method to create a basic balloon sword:
Step 1: Inflate the Balloon
- Use the balloon pump to inflate the 260 balloon, leaving about 6 inches of uninflated tail at the end.
- Tie a knot at the end of the balloon to secure the air.
Step 2: Create the Handle
- Make a basic twist about 5 inches from the knot. This will be the handle of the sword.
- Hold the twist firmly to prevent it from unraveling.
Step 3: Form the Hilt
- Create a loop twist by making a loop with the remaining balloon and twisting it to secure.
- Repeat this step to create a second loop twist, forming the hilt of the sword.
Step 4: Create the Blade
- Use the remaining length of the balloon to create the blade. You can make one long twist or several smaller twists to give it a more detailed appearance.
- If desired, you can create a pointed tip by twisting the end of the balloon.
5. Variations of Balloon Swords
Once you master the basic balloon sword, you can try creating different variations:
| Variation | Description |
|---|---|
| Sabre Sword | A curved blade for a more dramatic look. |
| Broad Sword | A wider blade for a sturdier appearance. |
| Jewelled Sword | Add decorative twists to resemble jewels. |
| Fast Sword | A quick version with fewer twists. |
6. Tips for Successful Balloon Twisting
- Practice: The more you practice, the better you will become at twisting balloons.
- Use Quality Balloons: Invest in good quality balloons to reduce the chances of popping.
- Stay Calm: If a balloon pops, don’t get discouraged. Just grab another one and try again.
- Be Creative: Feel free to add your own flair to the sword by using different colors or adding decorations.
7. Common Mistakes and How to Avoid Them
- Overinflating: Leaving too little tail can cause the balloon to pop. Always leave enough uninflated space.
- Twisting in Different Directions: This can cause your twists to come undone. Stick to one direction.
- Not Pinching: Failing to pinch while twisting can lead to loose shapes. Always hold your twists firmly.
8. Frequently Asked Questions (FAQs)
Q1: How long does it take to make a balloon sword?A: It typically takes about 2-5 minutes to make a basic balloon sword, depending on your skill level.
Q2: Can I use any type of balloon?A: It’s best to use 260 balloons specifically designed for twisting, as they hold their shape better.
Q3: What should I do if my balloon pops?A: Simply grab another balloon and try again. Popping is a normal part of balloon twisting.
Q4: Can I decorate my balloon sword?A: Yes! You can use markers to draw designs or add other decorations to personalize your sword.
Q5: Are there any safety concerns with balloon twisting?A: Always supervise young children while they are playing with balloons to prevent choking hazards.
9. Conclusion
Making a balloon sword is a fun and rewarding activity that can bring joy to any event. With practice and creativity, you can create impressive balloon swords that will delight children and adults alike. Remember to enjoy the process and don’t be afraid to experiment with different designs and techniques.
10. References
For more information on balloon twisting and safety, you can visit the Wikipedia page on Balloon Animals.


