Drawing a car can be a challenging yet rewarding experience for artists of all skill levels. From sketching the basic shapes to adding intricate details, the process of creating a realistic car drawing involves a combination of techniques and an understanding of perspective, proportions, and shading. This article will guide you through the steps of drawing a car, providing tips and tricks along the way.
Gathering Reference Images
Before you begin drawing, it’s essential to have a clear idea of the car you want to create. Gather reference images from various angles, including the front, side, and rear views. This will help you understand the car’s proportions and details, making it easier to translate onto your canvas or paper.
Sketching the Basic Shapes
Start by sketching the basic shapes that make up the car’s silhouette. Draw a rectangle for the body, a circle for the wheels, and a triangle for the windshield. These shapes will serve as a foundation for the rest of your drawing.
Establishing Proportions
Ensure that the proportions of your car are accurate by comparing the size of each part to the others. For example, the wheels should be in proportion to the body, and the windshield should be the correct size relative to the overall car.
Adding Details
Once you have the basic shapes and proportions in place, start adding details to your car drawing. Begin with the larger features, such as the headlights, grille, and bumpers, and then move on to smaller elements like side mirrors, door handles, and trim.
Considering Perspective
When adding details, keep perspective in mind. Elements closer to the viewer should appear larger, while those farther away should be smaller. This will create depth and realism in your drawing.
Shading and Highlights
Shading and highlights are essential for creating a realistic car drawing. Use a range of values, from dark shadows to bright highlights, to give your car a sense of form and depth. Pay attention to the direction of the light source and how it affects the car’s surfaces.
Blending Techniques
Experiment with different blending techniques, such as hatching, cross-hatching, and stippling, to create smooth gradients and textures in your drawing. Use a blending stump or your finger to soften edges and create a more realistic appearance.
Adding Reflections and Shadows
Reflections and shadows are crucial elements in car drawings. Observe how light bounces off the car’s surfaces and creates reflections on the ground or surrounding objects. Add shadows to give your car a sense of weight and grounding.
Considering the Environment
Think about the environment in which your car is placed. Is it in a city street, a garage, or a rural setting? The background and surroundings can greatly influence the overall look and feel of your drawing.
Refining and Finishing Touches
As you near the end of your drawing, take a step back and assess your work. Look for areas that need further refinement, such as proportions, details, or shading. Add any final touches to make your car drawing look its best.
Step-by-Step Guide to Drawing a Car
Step 1: Choose Your Car Model
Select a car model that you want to draw. It could be a sports car, a classic car, or a modern sedan. Having a specific model in mind will help you focus on the unique features of that car.
Step 2: Gather Your Materials
You will need the following materials to start drawing:
- Pencils: A range of pencils (H for light lines, B for darker lines).
- Eraser: A kneaded eraser is ideal for lifting graphite without damaging the paper.
- Paper: Use drawing paper or sketch paper suitable for your chosen medium.
- Ruler: For straight lines and accurate measurements.
- Blending Tools: Blending stumps or tortillons for shading.
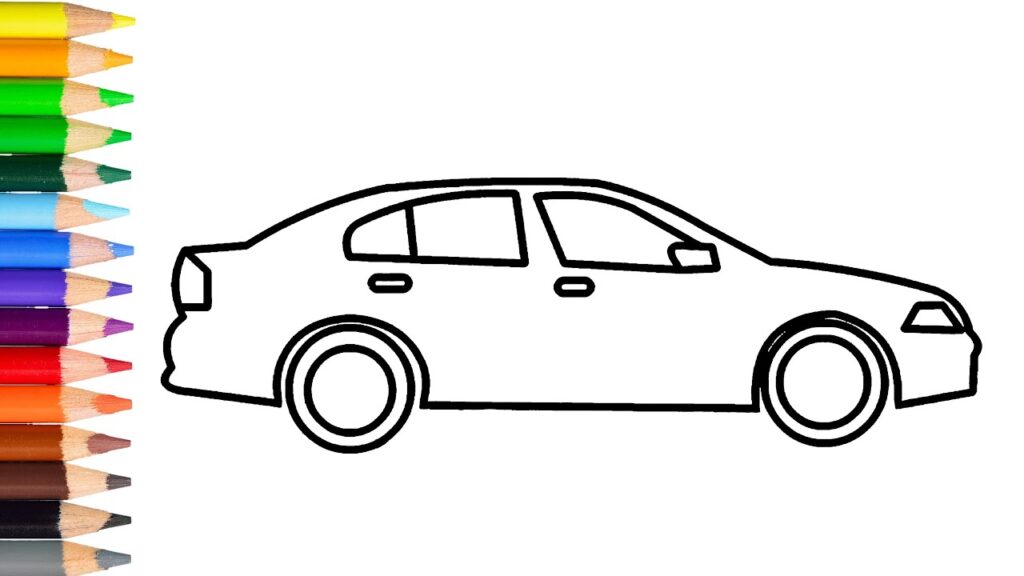
Step 3: Start with the Outline
- Draw the Main Body: Begin by sketching a long rectangle for the car’s body. This will serve as the base shape.
- Add the Wheels: Draw two circles at the bottom of the rectangle for the wheels. Ensure they are evenly spaced and proportionate to the body.
- Sketch the Roof: Add a smaller rectangle or trapezoid on top of the main body to represent the car’s roof.
- Define the Front and Back: Sketch the front and rear of the car by adding curves or angles to the rectangle. This will help define the car’s shape.
Step 4: Refine the Outline
- Add Details: Begin adding details such as the headlights, grille, windows, and doors. Use your reference images to ensure accuracy.
- Adjust Proportions: Step back and check the proportions of your drawing. Make any necessary adjustments to ensure everything looks balanced.
- Erase Unnecessary Lines: Once you are satisfied with the outline, erase any unnecessary construction lines to clean up your drawing.
Step 5: Add Depth with Shading
- Identify the Light Source: Determine where the light is coming from in your drawing. This will guide where you place shadows and highlights.
- Start Shading: Use a light pencil (H) to begin shading the areas that will be darker. Gradually build up the darkness using a softer pencil (B).
- Blend for Smoothness: Use a blending stump to smooth out the shading, creating a more realistic appearance.
Step 6: Add Reflections and Highlights
- Reflective Surfaces: Identify areas on the car where reflections would occur, such as the windows and polished bodywork. Use a white pencil or eraser to create highlights.
- Details on the Windows: Shade the windows lightly, leaving some areas white to represent reflections and light.
Step 7: Finalize the Drawing
- Review Your Work: Take a moment to step back and review your drawing. Look for any areas that may need more detail or refinement.
- Add Background Elements: If desired, add a simple background to give context to your car. This could be a road, a garage, or a scenic view.
- Sign Your Artwork: Don’t forget to sign your drawing! This adds a personal touch and marks your accomplishment.
Experimenting with Different Media
Experiment with different drawing media, such as pencils, pens, markers, or colored pencils, to create unique effects and styles in your car drawings. Each medium has its own characteristics and can produce different results.