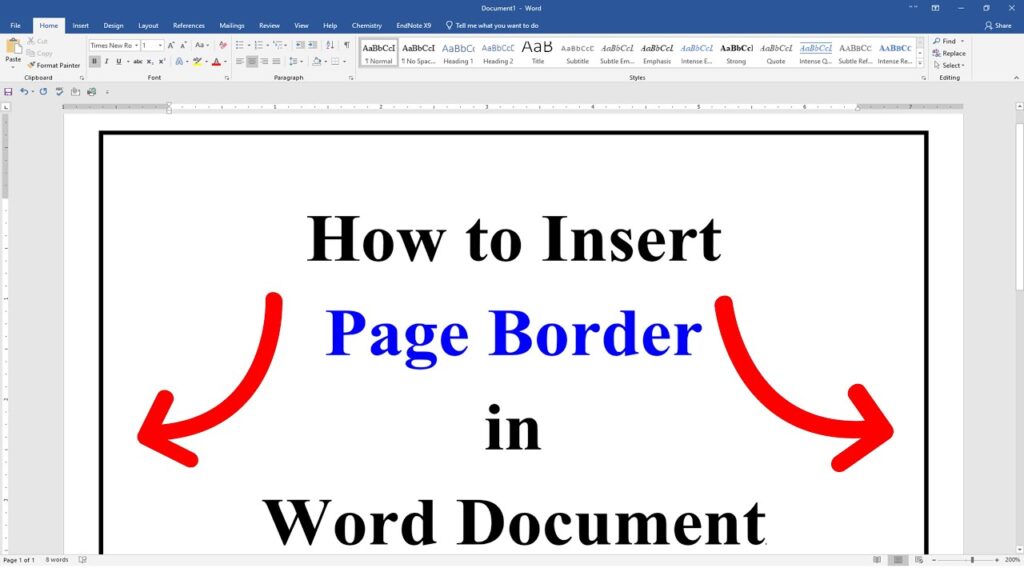
How to Add a Border in Microsoft Word: A Comprehensive Guide
Adding borders in Microsoft Word is a simple yet effective way to enhance the visual appeal and organization of your documents. Whether you want to highlight specific sections, create a professional look, or simply add a decorative touch, Word offers various options for adding borders to your content. In this comprehensive guide, we’ll explore different methods for adding borders in Word, including page borders, paragraph borders, table borders, and picture borders.
Understanding Borders in Microsoft Word
Borders in Word are lines, shapes, or graphics that you can add around pages, paragraphs, tables, or pictures to create visual boundaries and enhance the overall appearance of your document. Word provides a wide range of options for customizing borders, including:
- Line style: Choose from solid, dashed, dotted, or double lines.
- Line color: Select from a variety of colors to match your document’s theme.
- Line width: Adjust the thickness of the border lines.
- Border placement: Specify which sides of the page, paragraph, or object should have a border.
Adding a Page Border
To add a border around an entire page in Word:
- Place your cursor at the beginning of the document or section where you want to add the border.
- Go to the “Design” tab in the ribbon.
- In the “Page Background” group, click “Page Borders”.
- In the “Borders and Shading” dialog box, select the desired border style, color, and width.
- Choose the pages to which you want to apply the border from the “Apply to” dropdown menu.
- Click “OK” to apply the border.
You can also customize the border placement by clicking “Options” in the “Borders and Shading” dialog box and adjusting the margins.
Adding a Paragraph Border
To add a border around a specific paragraph:
- Select the paragraph you want to add the border to.
- Go to the “Home” tab in the ribbon.
- In the “Paragraph” group, click the “Borders” button.
- Choose the desired border style from the dropdown menu.
- The border will be applied to the selected paragraph.
You can further customize the paragraph border by clicking “Borders and Shading” at the bottom of the dropdown menu and adjusting the line style, color, and width.
Adding a Border to a Table
To add a border around a table or individual cells:
- Select the table or cells you want to add the border to.
- Go to the “Table Design” tab in the ribbon.
- In the “Table Styles” group, click the “Borders” button.
- Choose the desired border style from the dropdown menu.
- The border will be applied to the selected table or cells.
You can also use the “Borders” button to remove borders or adjust the border style for specific cells or the entire table.
Adding a Border to a Picture
To add a border around a picture:
- Select the picture you want to add the border to.
- Go to the “Picture Format” tab in the ribbon.
- In the “Picture Styles” group, click the “Picture Border” button.
- Choose the desired border style, color, and width from the dropdown menu.
- The border will be applied to the selected picture.
You can further customize the picture border by clicking “Weight” or “Color” to adjust the thickness or hue of the border line.
Tips for Using Borders Effectively
- Use borders consistently throughout your document for a polished and professional look.
- Choose border styles and colors that complement your document’s theme and content.
- Avoid using too many different border styles in a single document, as this can be visually overwhelming.
- Use borders sparingly to highlight important information or create visual interest, rather than applying them to every element in your document.
- Consider the purpose and audience of your document when selecting border styles and placement.
FAQ Section
Q1: Can I add a border to a specific page in my document?A1: Yes, you can add a border to specific pages by inserting section breaks before and after the pages you want to border, and then applying the border to the section.
Q2: How do I remove a border I’ve already added?A2: To remove a border, follow the same steps for adding a border, but select “No Border” from the dropdown menu or uncheck the border options in the “Borders and Shading” dialog box.
Q3: Can I use an image or graphic as a border?A3: Yes, Word allows you to use custom graphics or images as borders. In the “Borders and Shading” dialog box, click the “Art” button and select the desired image from the available options.
Q4: Will borders affect the layout of my document?A4: Borders generally do not affect the layout of your document, as they are applied on top of the existing content. However, very thick borders or borders with large margins may slightly alter the spacing and appearance of your text and objects.
Q5: Can I save my custom border settings for future use?A5: Yes, you can save your custom border settings as a style in Word. Go to the “Borders and Shading” dialog box, configure your desired border settings, and click “Set as Default” to apply the border to the Normal style or create a new style.
Conclusion
Adding borders in Microsoft Word is a simple yet powerful way to enhance the visual appeal and organization of your documents. By following the methods outlined in this guide, you can easily add borders to pages, paragraphs, tables, and pictures, and customize them to suit your specific needs. Remember to use borders judiciously and consistently for the best results. With a little creativity and attention to detail, you can transform your Word documents into visually stunning and professional-looking masterpieces.For more information on formatting options in Microsoft Word, you can refer to the Microsoft Support website.


