How to Register Your Phone on a Network: A Comprehensive Guide
Registering your phone on a network is a crucial step to ensure that you can make calls, send messages, and use mobile data. Whether you have just purchased a new phone, switched carriers, or are experiencing connectivity issues, knowing how to properly register your device can save you time and frustration. This comprehensive guide will cover the steps to register your phone on various networks, troubleshoot common issues, and provide additional resources for assistance.
1. Understanding Phone Registration
Phone registration is the process of connecting your mobile device to a specific network provider. This process typically involves associating your phone’s unique identifier (such as the IMEI number) with your account on the carrier’s network. Once registered, your phone will be able to access the carrier’s services, including voice calls, text messaging, and mobile data.
Key Terms
| Term | Definition |
|---|---|
| IMEI Number | A unique identifier for mobile devices, used for registration and tracking. |
| SIM Card | A small card inserted into your phone that connects it to a mobile network. |
| Network Provider | The company that provides mobile services, such as AT&T, Verizon, or T-Mobile. |
| Activation | The process of enabling your phone on a network, often involving registration. |
2. Preparing Your Phone for Registration
Before you can register your phone on a network, there are a few steps you should take to ensure everything is ready:
1. Check Your SIM Card
- Insert the SIM Card: Make sure that the SIM card is properly inserted into your phone. If you have a dual-SIM phone, ensure that the correct SIM slot is being used.
- Check for Damage: Inspect the SIM card for any signs of physical damage, such as scratches or cracks. If the SIM card is damaged, you may need to obtain a replacement from your carrier.
2. Power On Your Device
- Ensure that your phone is powered on and fully charged. If the battery is low, charge your device before proceeding with the registration process.
3. Update Your Phone
- Check for any available software updates. Keeping your phone’s operating system up to date can help prevent registration issues. Go to Settings > System > Software Update to check for updates.
3. Steps to Register Your Phone on a Network
The process of registering your phone on a network may vary slightly depending on your carrier and device type. Below are general steps that apply to most smartphones:
Step 1: Insert the SIM Card
- Power off your phone.
- Locate the SIM card tray (usually found on the side of the phone).
- Use a SIM eject tool or a paperclip to open the tray.
- Insert the SIM card into the tray, ensuring it is properly aligned.
- Reinsert the tray into the phone.
Step 2: Power On Your Phone
- Press and hold the power button until the device turns on.
- Wait for the phone to boot up completely.
Step 3: Activate Your Phone
- Follow the on-screen instructions to complete the activation process.
- If prompted, enter your Google account or Apple ID credentials, depending on your device.
Step 4: Check Network Connection
- Go to Settings > Network & Internet (or Connections).
- Select Mobile Network and ensure that mobile data is enabled.
- Your phone should automatically register with the network. If it does not, proceed to the troubleshooting section.
4. Troubleshooting Common Issues
If you encounter issues during the registration process, consider the following troubleshooting steps:
1. Restart Your Device
- Sometimes, a simple restart can resolve connectivity issues. Turn your phone off, wait a few seconds, and then turn it back on.
2. Toggle Airplane Mode
- Enable Airplane Mode for a few seconds and then disable it. This can help refresh the network connection.
3. Manually Select the Network
- Go to Settings > Network & Internet (or Connections).
- Select Mobile Network.
- Tap on Network Operators and choose Search networks.
- Select your carrier from the list.
4. Reset Network Settings
If you’re still having trouble, consider resetting your network settings. This will erase saved Wi-Fi networks and Bluetooth connections but may resolve registration issues.
- Go to Settings > System > Reset options.
- Select Reset Wi-Fi, mobile & Bluetooth.
- Confirm the reset.
5. Contact Your Carrier
If you have tried all the above steps and are still experiencing issues, it may be time to contact your carrier’s customer support. They can provide assistance and check for any account-related issues.
5. Carrier-Specific Instructions
Different carriers may have specific instructions for registering your phone on their network. Below are general guidelines for some of the major carriers:
AT&T
- Insert the SIM card and power on your device.
- Follow the on-screen activation prompts.
- If activation does not occur automatically, visit the AT&T website or call customer support for assistance.
Verizon
- Insert the SIM card and power on your device.
- Download the My Verizon app or visit the Verizon website to activate your device.
- Follow the prompts to complete the activation process.
T-Mobile
- Insert the SIM card and power on your device.
- Visit the T-Mobile website or use the T-Mobile app to activate your phone.
- Follow the instructions provided to complete the registration.
Sprint (Now part of T-Mobile)
- Insert the SIM card and power on your device.
- Use the Sprint app or website to activate your phone.
- Follow the on-screen instructions to complete the process.
Summary Table of Carrier-Specific Instructions
| Carrier | Activation Method |
|---|---|
| AT&T | Use the AT&T website or customer support. |
| Verizon | Use the My Verizon app or website for activation. |
| T-Mobile | Activate through the T-Mobile website or app. |
| Sprint | Use the Sprint app or website for activation. |
6. Conclusion
Registering your phone on a network is a crucial step to ensure you can access mobile services. By following the steps outlined in this guide, you can easily register your device, troubleshoot common issues, and understand the specific requirements of your carrier. If you continue to experience problems, don’t hesitate to reach out to your carrier for assistance.
7. FAQ Section
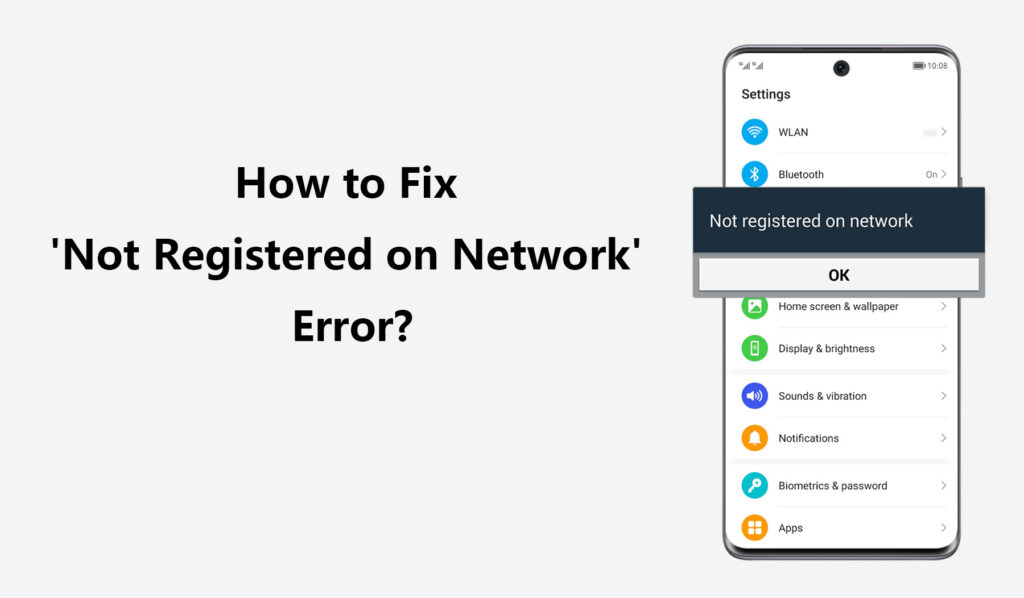
Q1: What does it mean when my phone says “Not Registered on Network”?
A1: This message indicates that your phone is unable to connect to your carrier’s network, which can be due to issues with the SIM card, network settings, or a lack of service in your area.
Q2: How can I check if my SIM card is working?
A2: You can check your SIM card by removing it from the phone, inspecting it for damage, and reinserting it. If the problem persists, try using the SIM card in another phone to see if it works.
Q3: Can I register my phone on a network without a SIM card?
A3: No, a SIM card is required to register your phone on a mobile network. Without it, your phone will not be able to connect to the carrier’s services.
Q4: How long does it take to register my phone on a network?
A4: The registration process typically takes just a few minutes, but it can vary depending on the carrier and any potential issues that arise during activation.
Q5: What should I do if my phone still doesn’t register after following all the steps?
A5: If your phone still does not register after trying all troubleshooting steps, contact your carrier’s customer support for further assistance.For more information on mobile device registration and troubleshooting, you can refer to the Wikipedia page on Mobile Phone.