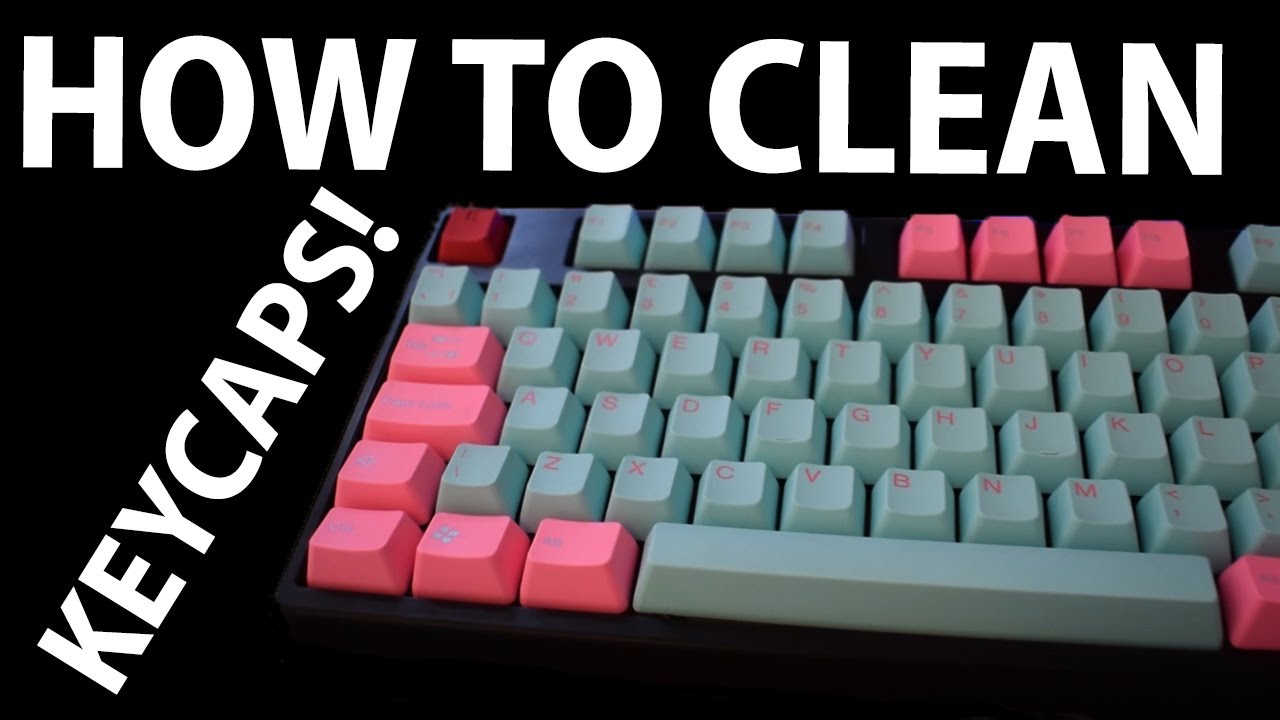
How to Clean Keycaps: A Comprehensive Guide
Tools and Materials Needed
Before starting the cleaning process, gather the following tools and materials:
- Keycap puller (optional but recommended)
- Bowl or container for soaking
- Warm soapy water (mild dish soap works well)
- Soft cloth or sponge
- Toothbrush or soft-bristled brush
- Towel for drying
- Isopropyl alcohol (optional for disinfecting)
- Compressed air (optional for keyboard cleaning)
Step-by-Step Cleaning Process
Step 1: Disconnect the Keyboard
Ensure that the keyboard is unplugged from the power source. This prevents accidental inputs and protects the keyboard from electrical damage during cleaning.
Step 2: Remove the Keycaps
- Use a Keycap Puller: Gently insert the keycap puller under the keycap and pull upwards to detach it. If you don’t have a puller, use your fingers, applying even pressure on both sides to avoid damage.
- Take Note of Key Placement: It’s helpful to take a picture of your keyboard layout before removing the keycaps, especially if you’re not familiar with their positions.
Step 3: Soak the Keycaps
- Prepare the Soaking Solution: Fill a bowl with warm (not hot) water and add a few drops of mild dish soap. Mix until the soap is dissolved.
- Submerge the Keycaps: Place the removed keycaps in the soapy water. Let them soak for 30 to 60 minutes to loosen dirt and oils.
Step 4: Scrub the Keycaps
- Use a Soft Brush: After soaking, take each keycap and scrub it gently with a toothbrush or soft-bristled brush. Pay special attention to the edges and crevices where grime accumulates.
- Rinse Thoroughly: Rinse each keycap under warm water to remove any soap residue. Ensure that no cleaning solution remains.
Step 5: Dry the Keycaps
- Pat Dry: Use a towel to gently pat the keycaps dry. Avoid rubbing, as this can scratch the surface.
- Air Dry: Place the keycaps on a towel or drying rack and let them air dry completely for several hours or overnight. Ensure they are entirely dry before reassembling to prevent moisture damage to the keyboard.
Step 6: Clean the Keyboard
While the keycaps are drying, clean the keyboard itself:
- Use Compressed Air: Blow out any dust and debris from between the switches using compressed air.
- Wipe Down the Surface: Dampen a cloth with isopropyl alcohol and gently wipe the keyboard surface, avoiding any liquid from seeping into the switches.
Step 7: Reassemble the Keyboard
- Reattach Keycaps: Once the keycaps are completely dry, align them with their respective switches and press down firmly until you hear a click.
- Test Each Key: After reassembling, press each key to ensure they function correctly.
Maintenance Tips
- Regular Cleaning: Wipe down keycaps weekly with a damp microfiber cloth to prevent buildup.
- Deep Cleaning: Perform a deep clean every 4 to 6 weeks, following the steps outlined above.
- Avoid Harsh Chemicals: Do not use bleach or acidic cleaners, as they can damage the keycap material.
Table: Keycap Cleaning Summary
| Step | Description |
|---|---|
| Disconnect | Unplug the keyboard to ensure safety. |
| Remove Keycaps | Use a puller or fingers to detach keycaps gently. |
| Soak | Immerse keycaps in warm soapy water for 30-60 mins. |
| Scrub | Clean with a soft brush, focusing on edges. |
| Rinse | Thoroughly rinse keycaps under warm water. |
| Dry | Pat dry and air dry completely before reassembly. |
| Clean Keyboard | Use compressed air and a damp cloth for the keyboard. |
| Reassemble | Align and press keycaps back onto switches. |
FAQ Section
Q1: Can I use disinfecting wipes on my keycaps?
A1: It’s best to avoid using disinfecting wipes as they may leave residue or fibers. Instead, use a damp microfiber cloth with isopropyl alcohol for disinfecting.
Q2: How often should I clean my keycaps?
A2: A light cleaning should be done weekly, while a deep clean is recommended every 4 to 6 weeks.
Q3: Is it safe to soak keycaps in water?
A3: Yes, soaking keycaps in warm soapy water is safe. Just ensure that you do not soak the keyboard itself.
Q4: What should I do if a keycap feels loose after reassembly?
A4: If a keycap feels loose, remove it and check its alignment. Reattach it firmly to ensure proper contact with the switch.
Q5: Can I clean my keyboard without removing the keycaps?
A5: Yes, for light cleaning, you can use compressed air and a damp cloth to clean the surface without removing the keycaps. However, for a thorough clean, removing the keycaps is recommended.
Additional Resources
For more information on cleaning and maintenance, you can refer to the CDC guidelines on cleaning and disinfecting surfaces CDC Cleaning Guidelines.By following these steps and tips, you can keep your keycaps and keyboard in excellent condition, ensuring a better typing experience and prolonging the life of your equipment.