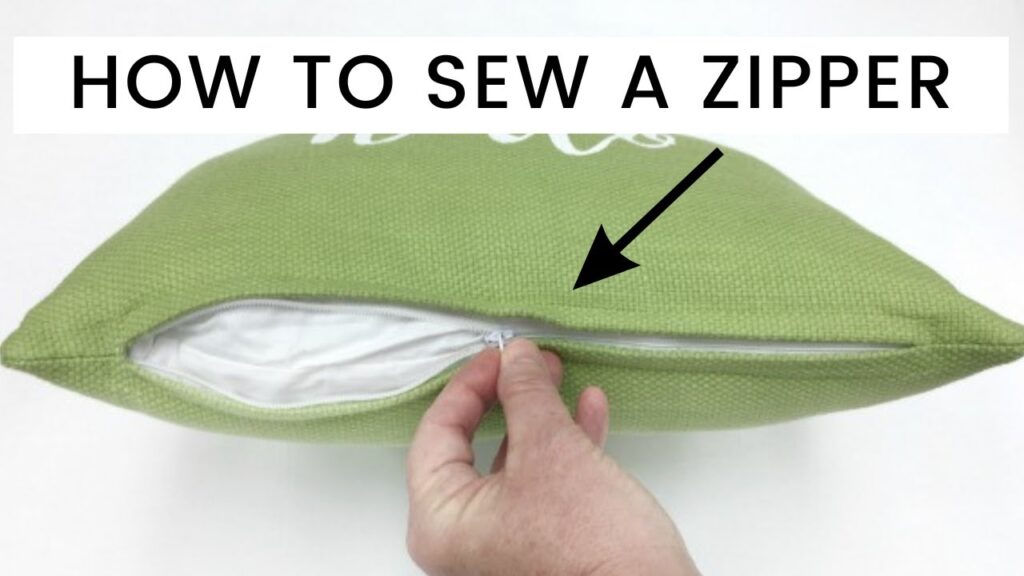
How to Sew a Zipper
Sewing a zipper may seem intimidating at first, but with the right techniques and a little practice, it’s a skill that every sewer should have in their toolkit. Whether you’re working on a garment, a bag, or a home decor project, being able to properly install a zipper can take your sewing to the next level. In this comprehensive guide, we’ll walk you through the process of sewing a zipper, covering different methods and providing tips for success.
Types of Zippers
Before we dive into the sewing process, it’s important to understand the different types of zippers available:
- Regular Zipper: The most common type, featuring a continuous coil of teeth that run along the length of the tape.
- Invisible Zipper: Designed to be hidden from view, with teeth that are sewn into the seam allowance.
- Separating Zipper: Has a zipper stop at the bottom, allowing it to be completely detached. Often used for jackets and sweaters.
- Lapped Zipper: Overlaps the seam, creating a decorative effect. Commonly used in skirts and dresses.
- Exposed Zipper: Features a visible zipper tape, creating a bold, modern look. Ideal for jackets, bags, and home decor projects.
Supplies Needed
To sew a zipper, you’ll need the following supplies:
- Zipper: Choose a zipper that is the same length as your opening and matches the weight of your fabric.
- Fabric: Ensure that your fabric is cut to the desired size, with seam allowances included.
- Zipper Foot: Allows you to sew close to the zipper teeth.
- Pins or Clips: To hold the zipper in place while sewing.
- Thread: Use a thread color that matches or complements your fabric.
- Scissors or Rotary Cutter: For cutting fabric and threads.
- Iron and Ironing Board: For pressing seams and zipper edges.
Sewing a Regular Zipper
- Prepare the Fabric: Press the seam allowances open where the zipper will be sewn. Place the zipper face down on the right side of the fabric, aligning the zipper teeth with the seam line. Pin or clip the zipper in place.
- Attach the Zipper Foot: Attach the zipper foot to your sewing machine, positioning the needle to the left or right, depending on which side of the zipper you’ll be sewing.
- Sew the Zipper: Start sewing at the zipper bottom, keeping the zipper slightly open. Stitch close to the zipper teeth, stopping a few inches from the top. Backstitch to secure the stitches.
- Repeat on the Other Side: Unzip the zipper halfway. Fold the fabric back, exposing the zipper tape. Pin or clip the other side of the zipper to the fabric, aligning the teeth with the seam line. Sew the zipper in place, starting from the bottom and stopping a few inches from the top.
- Finish the Zipper: Stitch across the top of the zipper, securing the ends. Fold the fabric back to the right side and press the zipper flat.
Sewing an Invisible Zipper
- Prepare the Fabric: Press the seam allowances open where the zipper will be sewn. Baste the seam closed, leaving an opening for the zipper.
- Attach the Zipper Foot: Attach the zipper foot to your sewing machine, positioning the needle to the left or right, depending on which side of the zipper you’ll be sewing.
- Sew the Zipper: Place the zipper face up on your ironing board. Fold one side of the fabric over the zipper tape, aligning the raw edge with the center of the zipper teeth. Pin or clip in place. Repeat on the other side. Sew the zipper in place, starting from the bottom and stopping a few inches from the top.
- Finish the Zipper: Stitch across the top of the zipper, securing the ends. Fold the fabric back to the right side and press the zipper flat.
Sewing a Lapped Zipper
- Prepare the Fabric: Press the seam allowances open where the zipper will be sewn. Baste the seam closed, leaving an opening for the zipper.
- Attach the Zipper Foot: Attach the zipper foot to your sewing machine, positioning the needle to the left or right, depending on which side of the zipper you’ll be sewing.
- Sew the Zipper: Place the zipper face down on the right side of the fabric, aligning the zipper teeth with the seam line. Pin or clip the zipper in place. Sew the zipper in place, starting from the bottom and stopping a few inches from the top.
- Fold the Fabric: Fold the fabric over the zipper tape, creating a lapped effect. Pin or clip in place.
- Finish the Zipper: Sew the lapped fabric in place, stitching close to the zipper teeth. Stitch across the top of the zipper, securing the ends. Fold the fabric back to the right side and press the zipper flat.
Tips for Success
- Use a Zipper Foot: A zipper foot allows you to sew close to the zipper teeth, ensuring a professional finish.
- Baste First: Basting the zipper in place before sewing can help prevent shifting and ensure accurate placement.
- Press as You Go: Pressing the fabric and zipper after each step helps to set the stitches and creates a crisp, clean finish.
- Backstitch at the Beginning and End: Backstitching at the start and end of your stitching line secures the threads and prevents unraveling.
- Experiment with Tension: Adjust your machine’s tension if needed to prevent puckering or skipped stitches.
- Use Pins or Clips: Pins or clips help hold the fabric and zipper in place while sewing, especially for invisible and lapped zippers.
Frequently Asked Questions (FAQ)
What is the best type of zipper for a beginner to start with?
A regular zipper is generally the easiest type for beginners to start with, as it is the most straightforward to sew.
Can I sew a zipper by hand?
Yes, it is possible to sew a zipper by hand, but it requires more time and patience. Use a needle and thread to hand-baste the zipper in place before hand-stitching close to the zipper teeth.
How do I sew a zipper into a tight space?
For tight spaces, such as a small bag or a pillow, consider using a zipper that is longer than your opening. Sew the zipper in place, then trim off the excess length.
What if my zipper is too long for my project?
If your zipper is longer than your opening, you can shorten it by removing the zipper stop at the bottom and cutting off the excess length. Reattach the zipper stop to secure the end.
How do I sew a zipper into a curved seam?
When sewing a zipper into a curved seam, such as a neckline or armhole, use a zipper foot and sew slowly, pivoting at the curves to maintain an even seam allowance.
| Characteristic | Link |
|---|---|
| Zipper | https://en.wikipedia.org/wiki/Zipper |