Overview of Drawing an Apple
Why Draw an Apple?
Apples are not only a common subject in art but also symbolize knowledge, health, and temptation in various cultures. Drawing an apple can help improve your observational skills, understanding of shapes, and shading techniques. It can also serve as a great exercise in color theory if you choose to color your drawing.
Materials Needed
Before starting, gather the following materials:
- Paper: Any drawing paper will work, but a smooth surface is preferable for detailed work.
- Pencils: A range of pencils (HB, 2B, 4B) for sketching and shading.
- Eraser: A good quality eraser for correcting mistakes.
- Colored Pencils or Markers: Optional, for adding color to your apple.
- Blending Tools: Such as blending stumps or your fingers for shading.
Step-by-Step Instructions for Drawing an Apple
Step 1: Sketch the Basic Shape
- Draw a Circle: Start by lightly sketching a circle to represent the main body of the apple. This doesn’t need to be perfect, as apples are not perfectly round.
- Add the Indent: At the top of the circle, draw a small oval or “U” shape to represent the indent where the stem will attach. This gives your apple a more realistic shape.
Step 2: Define the Outline
- Refine the Shape: From the bottom of the circle, create a slightly curved line that narrows toward the bottom. This will give your apple a more organic look.
- Add the Stem: Draw a short, curved line extending from the top indent to represent the apple’s stem.
- Draw the Leaf: Attach a leaf to the stem by drawing a small oval or teardrop shape. Add a central vein by drawing a line down the middle of the leaf.
Step 3: Add Details
- Texture Lines: Lightly sketch some curved lines on the apple’s surface to indicate its texture. These lines can follow the shape of the apple and help create depth.
- Shading: Decide where your light source is coming from (usually the top left). Shade the opposite side of the apple lightly using your pencil. Use a blending stump or your finger to smooth out the shading for a more realistic look.
Step 4: Color Your Apple
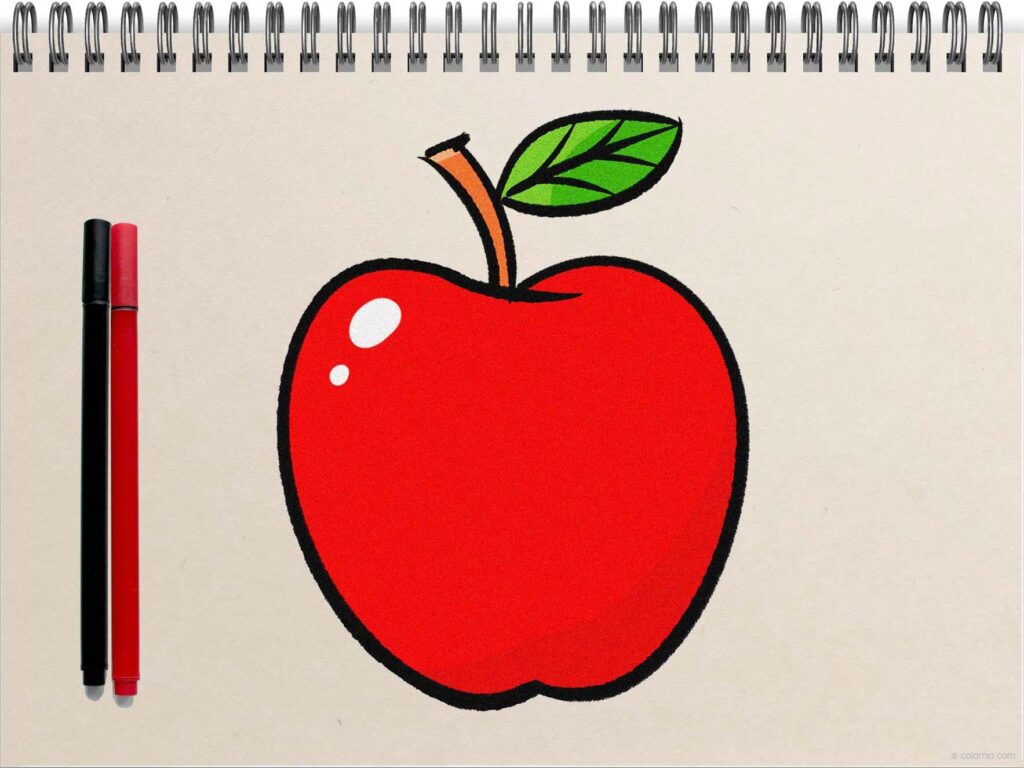
- Base Color: If you’re using colored pencils or markers, start with a base color. For a classic red apple, use a bright red shade and fill in the apple, leaving some areas lighter for highlights.
- Add Highlights: Use a lighter shade (like pink or white) to add highlights where the light hits the apple. This will give it a shiny appearance.
- Shade the Stem and Leaf: Use brown for the stem and green for the leaf. Add darker shades to the areas that would be in shadow.
Step 5: Final Touches
- Erase Guidelines: Once you’re satisfied with your drawing, gently erase any visible construction lines or guidelines.
- Refine Shading: Go back and enhance your shading, adding depth and dimension to your apple.
- Add Background (Optional): You can draw a simple background, like a table or a basket, to give context to your apple.
Tips for Drawing an Apple
- Observe Real Apples: If possible, look at a real apple while you draw. Notice its shape, color variations, and texture.
- Practice Different Styles: Try drawing apples in various styles, such as cartoonish, realistic, or abstract, to expand your skills.
- Experiment with Colors: Apples come in many colors (red, green, yellow), so don’t hesitate to experiment with different color combinations.
- Use Reference Images: If you’re struggling with proportions or details, use reference images to guide your drawing.
Common Mistakes to Avoid
- Overcomplicating the Shape: Remember that apples are simple shapes. Start with basic forms and build upon them.
- Neglecting Light and Shadow: Proper shading is crucial for a three-dimensional appearance. Pay attention to where the light hits the apple.
- Rushing the Process: Take your time with each step. Good art often requires patience and careful observation.
Table of Key Information
| Aspect | Details |
|---|---|
| Subject | Apple |
| Materials Needed | Paper, pencils, eraser, colored pencils/markers, blending tools |
| Key Steps | Sketch shape, define outline, add details, color, final touches |
| Common Mistakes | Overcomplicating shape, neglecting light and shadow, rushing |
| Drawing Styles | Realistic, cartoonish, abstract |
For more information on drawing techniques, you can refer to the Wikipedia page on drawing: Drawing.
FAQ Section
1. What materials do I need to draw an apple?
You will need paper, pencils (HB, 2B, 4B), an eraser, colored pencils or markers, and blending tools.
2. How do I start drawing an apple?
Begin by sketching a circle for the apple’s body and an oval for the indent at the top.
3. How can I make my apple look more realistic?
Focus on shading and highlights to create depth. Observe real apples for reference.
4. Can I use different colors for my apple?
Absolutely! Apples come in various colors, including red, green, and yellow. Feel free to experiment.
5. What are some common mistakes to avoid when drawing an apple?
Avoid overcomplicating the shape, neglecting light and shadow, and rushing through the process.
6. How can I improve my drawing skills?
Practice regularly, study real objects, and try different styles and techniques.
7. Is it necessary to use colored pencils for coloring?
No, you can use any coloring medium you prefer, such as markers, paints, or crayons.
8. How long does it take to draw an apple?
The time it takes can vary depending on your skill level and the detail you want to achieve, but it typically takes 30 minutes to an hour.
9. Can I draw an apple digitally?
Yes, digital drawing tools can be used to create apple illustrations, following similar techniques as traditional drawing.
10. Where can I find more drawing tutorials?
Many online resources offer drawing tutorials, including websites dedicated to art education and platforms like YouTube.