How to Draw a Dragon
Dragons have captivated imaginations for centuries, inspiring myths, legends, and works of art. These powerful, fire-breathing creatures come in a vast array of shapes and sizes, limited only by the artist’s creativity. Whether you prefer the majestic Western dragon with its leathery wings or the serpentine Eastern dragon with its flowing mane, this guide will equip you with the basic steps to bring your own dragon to life.
Materials:
- Pencil and eraser
- Drawing paper (sketchbook or any smooth surface)
- Sharpener (optional, but recommended for clean lines)
- Optional: Drawing pens, markers, colored pencils, or other coloring tools
Step 1: Sketching the Basic Shapes
-
Head: Start with a simple shape to represent the head. Depending on your desired dragon type, this could be a circle, oval, or a rectangle with rounded corners for a more blocky head.
-
Body: From the head, draw a curved line down to form the neck. The neck can be long and sinuous or short and thick, depending on the style you’re aiming for. The body can be drawn as a long, sausage-like shape or with more defined curves to suggest muscles and movement.
-
Tail: Extend a long, flowing line from the back of the body for the tail. Consider adding spikes or ridges along the tail for a more dynamic look.
-
Limbs: Dragons typically have four legs, though some variations depict them with wings only. If you’re drawing a four-legged dragon, sketch out the legs using simple lines and circles for the joints (shoulders, elbows, hips, knees, ankles). Consider the pose of your dragon – is it standing, crouching, or rearing up?
Step 2: Refining the Shapes
-
Refine the head: Add details like the eyes (ovals or almond shapes), nostrils (small circles or ovals), and mouth (a curved line or a more detailed V-shape with teeth). Dragons can have horns, varying in size, shape, and number depending on the design. Sketch these lightly on the head.
-
Define the body: Thicken the lines of the neck and body to give the dragon some form. Add subtle curves and bulges to suggest muscles and add depth.
-
Tail details: Thicken the tail line and add spikes or ridges if desired. Consider the ending of the tail – does it end in a sharp point, a club-like shape, or a flowing fin?
-
Limbs: Refine the leg shapes by adding ovals or circles for the paws. Think about the claws – long and sharp for a fierce look or shorter and blunter for a more grounded appearance. If your dragon has wings, sketch out the basic wing structure. Dragon wings can be bat-like or leathery, with a single large membrane or multiple smaller ones.
Step 3: Adding Details
-
Facial features: Draw the eyes with pupils and irises. Add details to the mouth – a long tongue, sharp teeth, or perhaps smoke billowing out if your dragon is breathing fire.
-
Scales and Textures: Dragons are often depicted with scales. You can add scales all over the body in a variety of ways – small, overlapping ovals for a reptilian look, larger, squarer shapes for a more armored appearance, or even a combination of both. Fur, feathers, or other textures can also be incorporated depending on your design.
-
Spikes and Ridges: Refine and define any spikes or ridges on the head, back, tail, or legs.
-
Wings (if applicable): Add details to the wings – leathery folds, individual feathers, or bony protrusions.
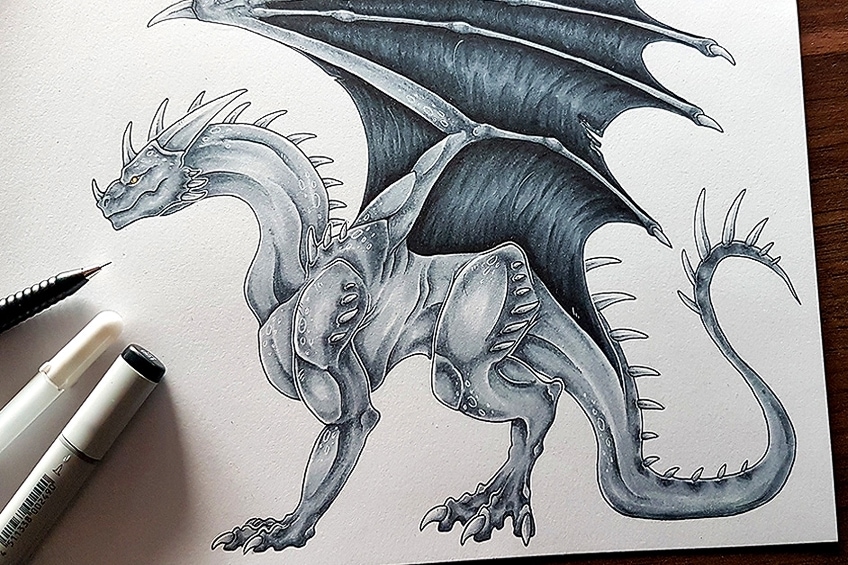
Step 4: Shading and Highlighting
Once you’re happy with the details, you can add shading and highlighting to bring your dragon to life. Use a pencil or shading tool to darken areas where the light wouldn’t reach, such as under the chin, belly, and inner wings. Lightly sketch highlights on areas where the light would hit, such as the top of the head, back, and wingtips.
Step 5: Final Touches
-
Refine your lines: Go over your pencil sketch with a darker pencil or pen to define the final lines of your drawing.
-
Eraser magic: Carefully erase any stray pencil marks or unwanted lines.
Step 6: Coloring (Optional)
This is where your creativity truly shines! You can use colored pencils, markers, paints, or even digital tools to bring your dragon to life in vibrant hues. Consider the type of dragon you’ve created – fiery reds and oranges for a fire.
Read more about it:https://greyhoundsverdevalley.com/how-old-is-blue-ivy/